How to Create a Home Sprinkler Irrigation System
Understanding the Benefits of Home Sprinkler Irrigation Systems
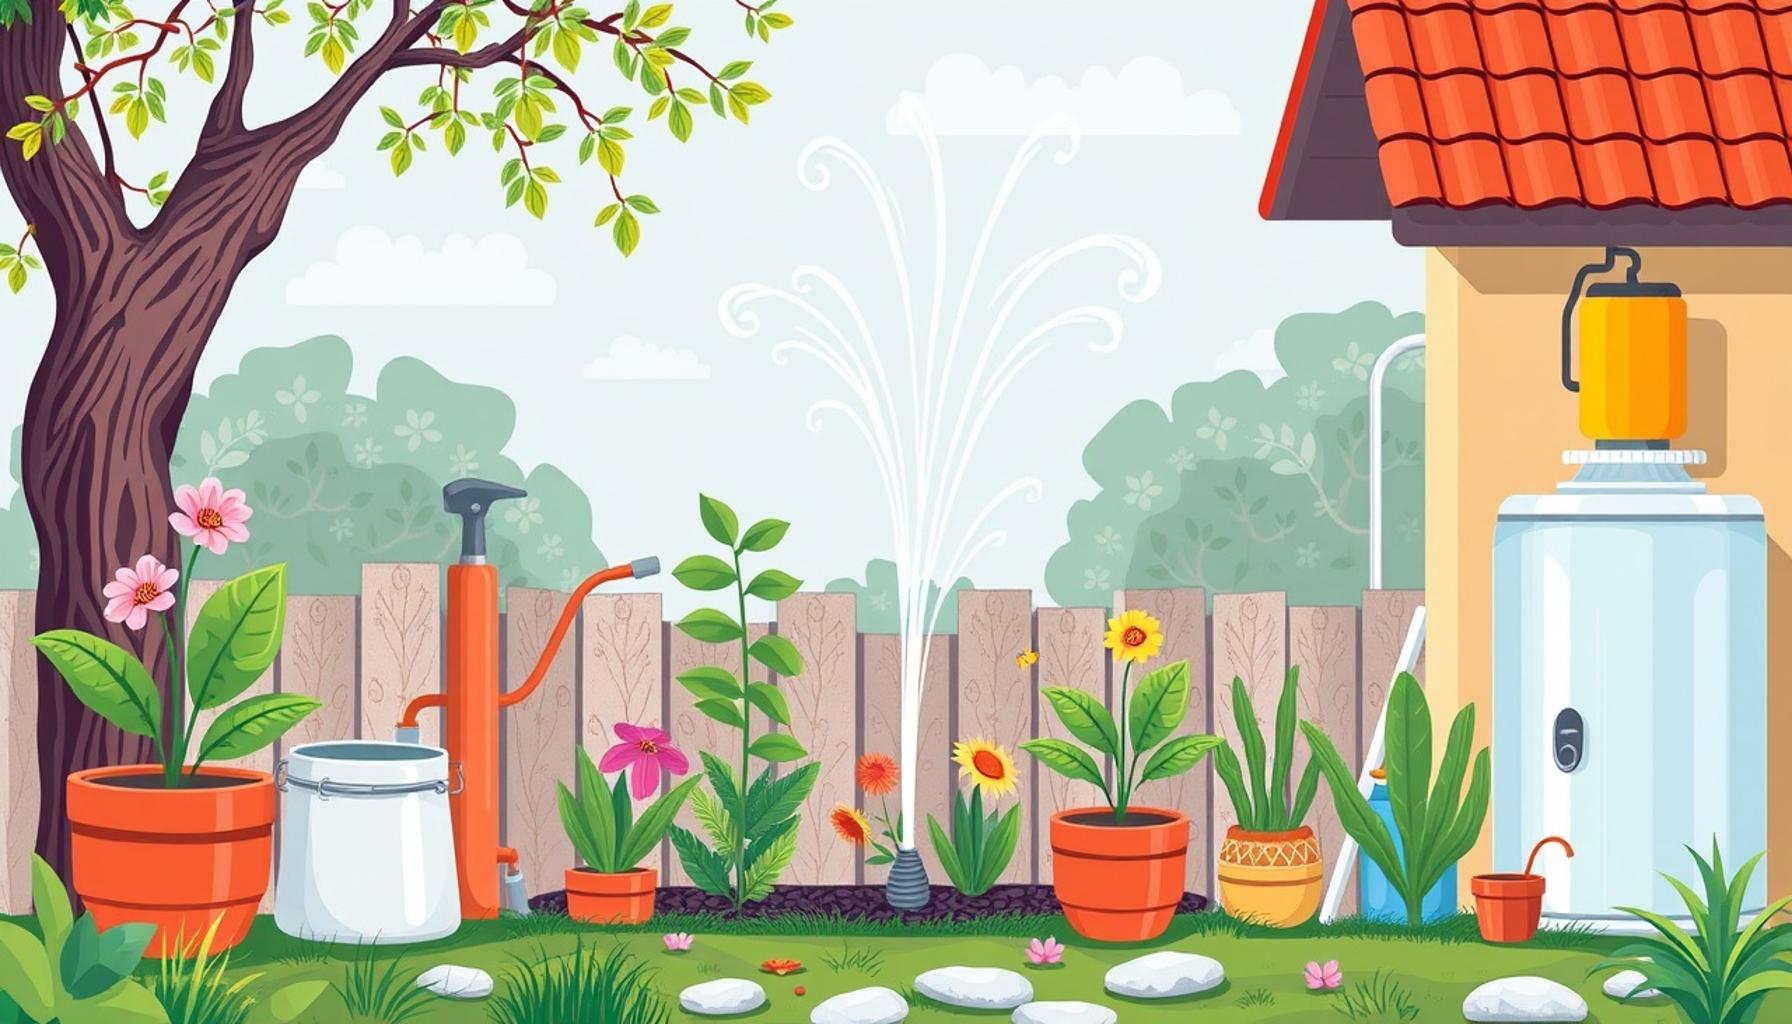
Creating a home sprinkler irrigation system can be a game-changer for maintaining your garden or lawn. With the right setup, you can ensure that every inch of your landscape receives the essential moisture it needs while saving time and water. This system eliminates guesswork and makes principles of efficient watering more accessible than ever. Not only can it improve the health of your garden, but it can also enhance the aesthetic appeal of your home environment.
By implementing a sprinkler irrigation system, homeowners can enjoy a myriad of benefits that contribute to successful gardening and water conservation.
- Consistency: Regular and uniform watering promotes healthier plants. Plants thrive with consistent moisture, which helps them develop strong roots and resist diseases. For instance, automated systems can be programmed to provide precise watering schedules, resulting in vibrant flowers and lush lawns.
- Water Conservation: Targeted watering reduces waste by delivering water directly to the plant roots, rather than on walkways or driveways. For example, drip irrigation systems, a type of sprinkler technology, can be incredibly effective for vegetable gardens and flower beds by minimizing evaporation and runoff.
- Savings on Time: Automated systems free you from labor-intensive manual watering. Many modern systems are run by timers or smart controllers that can adapt to weather changes, meaning you spend less time worrying about watering and more time enjoying your garden. Imagine being able to go on vacation, knowing your plants will be nourished without needing someone to come by and water them.
Essential Components of a Sprinkler System
Understanding the components of a sprinkler system is crucial before diving into installation. Key elements include:
- Water Source: Your garden’s main supply, whether it is municipal water, well water, or rainwater harvesting systems. Identifying a reliable water source will improve the overall effectiveness of your irrigation setup.
- Sprinkler Heads: The devices that distribute water can vary widely, from oscillating and rotating models to stationary ones designed for specific areas. Choosing the right type helps ensure every part of your garden receives the attention it requires, depending on the vegetation’s needs.
- Control System: Timers or smart controllers for automation allow users to customize watering schedules, frequency, and duration. Advancements in technology mean you can control these systems even from your smartphone, providing the ultimate convenience.
With the right tools and a little know-how, constructing an effective home irrigation system is a feasible DIY project that enhances the appeal of your outdoor space. Researching local climate conditions and plant types can further tailor your system for optimal results. Get ready to discover the essential steps and tips that will transform your watering routine into a streamlined, efficient, and enjoyable experience!
DISCOVER MORE: Click here for essential watering tips
Planning Your Home Sprinkler System
Creating a successful home sprinkler irrigation system begins with careful planning. Taking the time to develop a comprehensive plan ensures that your system is tailored to your specific landscaping needs and constraints. Whether you have lush gardens, a sprawling lawn, or a combination, outlining your objectives will guide your design process efficiently.
Here are a few crucial considerations to keep in mind while planning your system:
- Assess Your Landscape: Begin by surveying your yard or garden area. Take note of different zones that may require varying levels of moisture. Areas with flower beds, shrubs, or vegetable gardens will likely need more attention than a simple lawn. Additionally, consider slopes and shaded areas, as these factors can affect water distribution.
- Calculate Water Pressure and Flow Rate: Understanding your water supply is vital. Check the water pressure (measured in pounds per square inch, or PSI) and the flow rate (gallons per minute) using a hose bib. This information is critical when determining the number and type of sprinkler heads you can use, ensuring that your system operates efficiently without overloading your source.
- Determine Sprinkler Placement: Strategically positioning sprinkler heads is essential for maximizing coverage and reducing water waste. Use the “head-to-head” method for placement, which means the spray from each head should reach the next head. This will ensure an even distribution of water throughout your landscape while minimizing dry patches.
- Choose the Right Type of Sprinkler System: There are various types of sprinkler systems available, including traditional oscillating sprinklers, in-ground sprinkler systems, and drip irrigation systems. Consider the specific needs of your plants and the layouts of your garden to determine the best fit. For instance, drip irrigation is ideal for flower beds and vegetable gardens, while rotating sprinklers may be more suitable for large lawns.
Once you’ve mapped out your plan and chosen the type of system that fits your landscape, it’s time to gather the necessary materials. Having the right tools and equipment will streamline the installation process and enhance the overall performance of your system. Basic materials you will need include pipes, connectors, filters, sprinkler heads, and a timer or controller for automation.
Additionally, it’s advisable to check your local regulations concerning irrigation systems and water usage. Some areas have restrictions on watering hours and water conservation practices, so staying informed will help you design a responsible and compliant system.
With these planning steps in mind, you’re well on your way to creating an efficient home sprinkler irrigation system that supports your gardening aspirations while conserving water. As we proceed, we will delve into the actual installation processes and techniques to bring your irrigation vision to life.
When planning your home sprinkler irrigation system, it’s vital to assess the specific needs of your yard. Different plants, soil types, and topography can greatly affect how much water your landscape requires. Begin by conducting a thorough analysis of your land. Utilize a simple moisture meter to gauge soil moisture levels, helping you determine which areas are drier and need more attention.Next, consider the various types of irrigation systems available. Drip irrigation is an efficient method for delivering water directly to the roots of your plants, minimizing waste and evaporation. Conversely, spray irrigation covers larger areas and is ideal for lawns and flower beds.After deciding on the irrigation type, you’ll need to design your system layout. Create a comprehensive plan that incorporates the placement of your sprinkler heads, taking into account the water pressure and flow rate available at your home’s water source. It’s advisable to perform a flow test to ensure sufficient pressure throughout the system.Furthermore, integrating a smart controller into your setup can automate watering schedules based on real-time weather data. This not only conserves water but also keeps your plants healthy without requiring constant manual adjustments.To delve deeper into the specifics of material choices, consider pipes that are durable yet flexible. PVC pipes are popular due to their resistance to corrosion and ease of installation. Supplement these with high-quality sprinkler heads that have adjustable spray patterns, allowing you to customize water delivery to various garden sections.This entire process culminates in not just a functional sprinkler system but one that promotes resilience in your landscape while adopting sustainable gardening practices. By carefully planning and selecting the right components, you are investing in a healthier, more efficient garden that thrives.
DISCOVER MORE: Click here for tips on choosing easy-care plants
Installing Your Sprinkler System
With your plan in place and materials gathered, it’s time to move on to the installation of your home sprinkler irrigation system. Proper installation is crucial for ensuring optimal performance and longevity of your irrigation setup. This section will guide you through the various steps involved in the installation process, emphasizing essential techniques to help achieve a successful outcome.
1. Mark Your Layout: Before digging anything, use spray paint or stakes to outline your sprinkler layout precisely. This will help visualize how your system will operate and ensure that you don’t encounter any surprises while digging. Mark where the pipes will run and identify the locations of your sprinkler heads based on your planning steps. Be sure to note any underground utilities in your area to avoid complications.
2. Digging the Trenches: Next, it’s time to dig trenches for your pipes. The depth of the trench will depend on your local climate – typically, you’ll want to dig trenches 6-12 inches deep to prevent damage from frost during winter. Use a sound shovel or a trenching tool to achieve clean cuts in the soil. Carefully remove the soil as you dig, placing it to the side for backfilling after you install the pipes.
3. Assemble the Pipe System: With your trenches ready, it’s time to lay down the main supply line and any lateral lines that will branch out to individual sprinkler heads. Use PVC or polyethylene piping for underground installations, as they’re durable and resistant to decay. Connect the pipes with appropriate fittings and ensure all connections are secure to prevent leaks. It’s a good idea to run water through the system before burying the pipes to check for any issues.
4. Install Sprinkler Heads: Now, it’s time to position your sprinkler heads in their designated locations. Make sure that you cut the pipes to the appropriate lengths and attach the sprinkler heads securely. If you are using different types of heads (like fixed, rotating, or drip emitters), follow the manufacturer’s guidelines on spacing and placement for maximum efficiency. Remember to adjust the heights as well; heads should be level with the ground to avoid obstruction.
5. Connect the Timer or Controller: To automate your irrigation system, installing a timer or controller is essential. This device allows you to set specific watering schedules, ensuring that plants receive moisture at optimal times, especially when the sun is down. Connect the timer to your water source and set it according to the plants’ watering needs. Many modern controllers also feature smartphone compatibility, providing further convenience.
6. Test Your System: Once everything is installed, it’s time to test the system. Turn on the water supply and observe the performance of each sprinkler head. Check for leaks, adjust the coverage as needed, and ensure that you are achieving uniform distribution across all zones. Take note of any dry spots or over-saturated areas to make necessary adjustments.
7. Backfill Your Trenches: Once you are satisfied with the functioning of your system, carefully backfill the trenches with soil, making sure not to disturb any of the piping or sprinkler heads. Pat the soil down lightly as you fill to prevent future settling and create a neat appearance in your yard.
By following these installation steps systematically, you can set up a reliable home sprinkler irrigation system that conserves water while nurturing your landscape. An efficient system not only reduces your gardening workload but can also significantly enhance the quality and health of your plants.
DIVE DEEPER: Click here to learn about soil preparation
Conclusion
In conclusion, creating a home sprinkler irrigation system can transform your gardening experience while ensuring your plants receive the moisture they need to thrive. As you’ve learned, the installation process involves careful planning, precise execution, and attention to detail. From marking your layout and digging trenches to assembling pipes and installing sprinkler heads, each step plays a pivotal role in the overall effectiveness of your system.
By automating your irrigation through timers or smart controllers, not only do you conserve water, but you also maintain an efficient watering schedule that adapts to the needs of your plants, considering the climate variances you may encounter across different regions of the United States. The entire process can be both rewarding and beneficial, allowing for a lush and vibrant landscape while also reducing your workload significantly.
As you embark on this DIY journey, remember the importance of testing your system to ensure functionality. Pay attention to any areas that may need adjustments and be proactive in maintaining your system for long-term success. Explore more about advanced irrigation technologies or eco-friendly options to further enhance your setup, as the world of irrigation continues to evolve.
Whether you are tending to a small garden or overseeing a sprawling yard, understanding how to create a home sprinkler irrigation system puts you one step closer to achieving a beautiful, healthy outdoor space that flourishes year-round. Dive deeper into this subject, and you might discover innovative approaches that blend sustainability with efficiency, further enriching your landscape.